Overhuling the Portlights
The bronze portlights had foggy glass, corroded fasteners, and deteriorating seals. Each portlight was removed from the house for overhaul. An impact driver was required to remove the bronze screws holding the portlights to the house. Many of the bronze screws were already broken, many more shattered during removal.

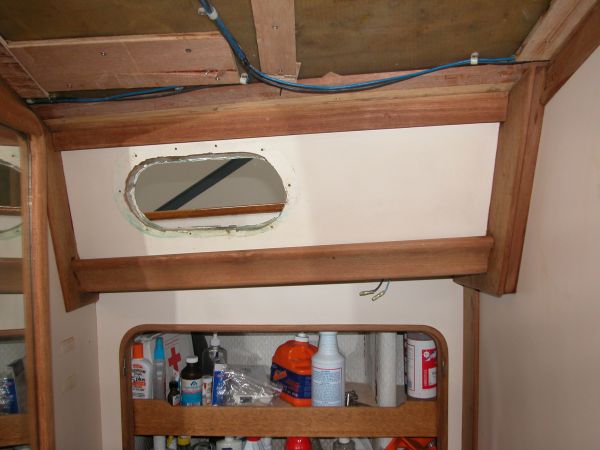
Some cleanup of the house was required
Disassembling the portlights started with removal of the old gasket. The groove then had to be cleaned out to gain access to the four screws holding the ring in place over the glass. We used a sealant 'dissolver' for 5200 to soften the sealant around the glazing, then pried the glass out of the frame. All metal parts were soaked in vinegar overnight, then cleaned.We used tempered glass cut by a local glass supplier. The new glass was installed with 3M 5200 as a sealant, as recommended by the glass company.
Prior to re-installation some broken fasteners had to be removed from the fiberglass house.

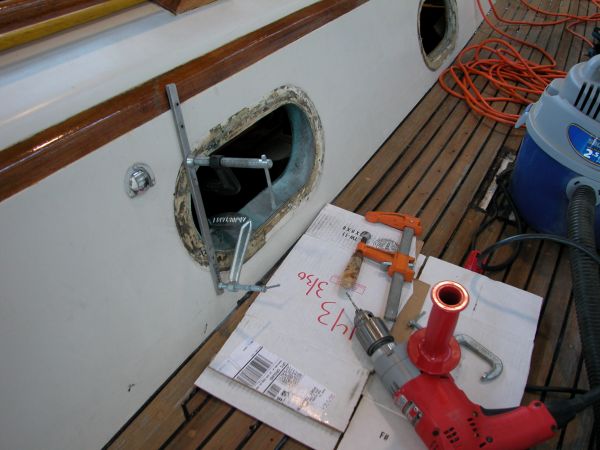
Drilling broken fasteners was a chore.
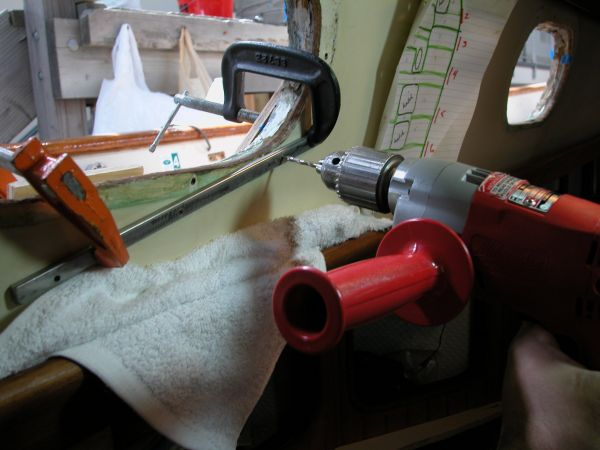
We drilled pilot holes through a piece of stainless steel flatbar to use as a guide when drilling out the broken bronze screws. I found it impossible to drill the screw shafts without the guide.

Clamping the guide onto the window frame was more of a challenge than it looks.
After drilling out the broken screw shanks the holes were filled with epoxy and re-drilled to accomodate the new screws.The openings were cleaned and prepped for sealant. We re-installed the portlights using 3M 101 sealant. The hinge bolts were also replaced. The gaskets were replaced with 5/16 square gasket material from Fisheries Supply in Seattle. The gaskets were joined by gluing them with super glue and leaving the joint in the top center.

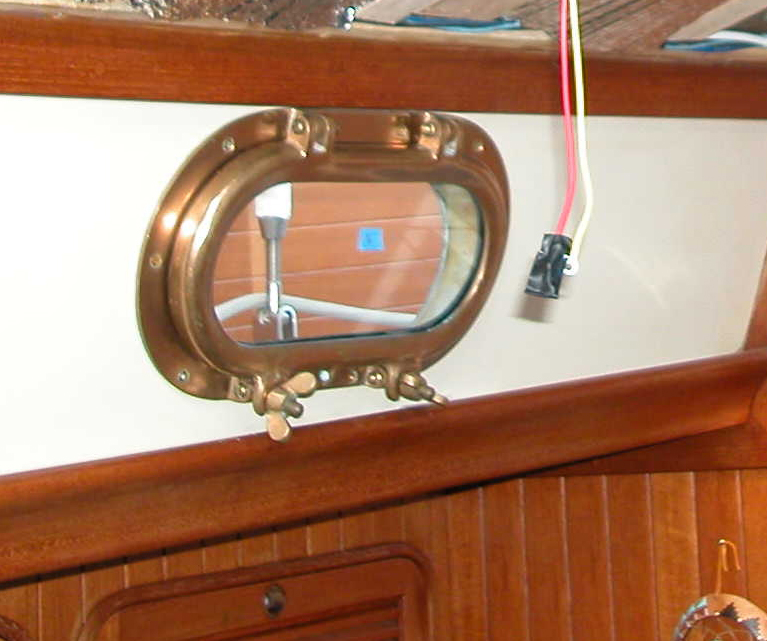
Completed portlight.
It is so nice to be able to see out of all the portlights!