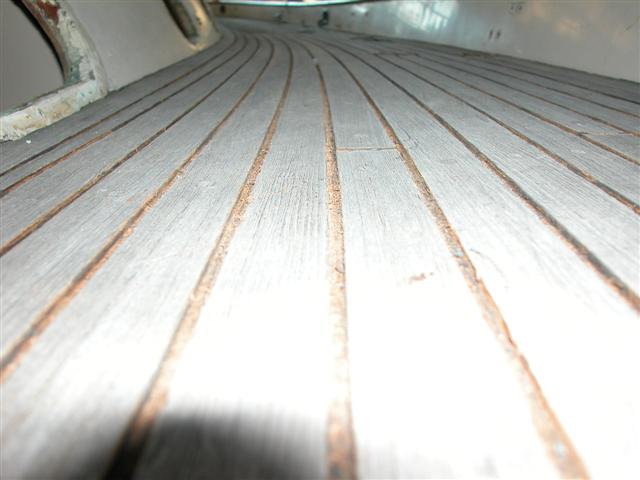
We used a variable speed Fein Multimaster sander with a 4mm teak hook to remove the old sealant. The Fein was a fabulous tool for the job and saved us a lot of work. After running the 4mm hook through each seam 2 or 3 times we used the rasp attachment on the Fein to remove the rest of the sealant. Variable speed is imperative throughout this process, running the Fein at the correct speed was the difference between success and failure.
The decks on a Baba 40 are made from curved planks. There is a definite direction to run the tool across each plank edge to avoid catching the grain and inadvertently gouging the wood or starting a splinter. It takes a little time and a light touch to get used to the Fein but is well worth it in the end. We avoided the use of the dremel and other high-speed rotating power tools on the decks to decrease the likelihood of collateral damage to the teak.
For teak decks with caulk along the bulwarks and cabin top you need Fein's carpet cutting blade. The gap at these edges is too narrow for the teak hook, I used a combination of the carpet blade and the scraper that came with the MultiMaster kit.

Bungs were replaced by drilling with a 3/8" Forestner bit and setting the new bungs in epoxy. Most of the work was in removing the old screws with epoxy-filled heads - I spent 4 days removing screws and had to make tools to drive the epoxy out of the old phillips head screws. A wood chisel and sander brought the deck back to flush.
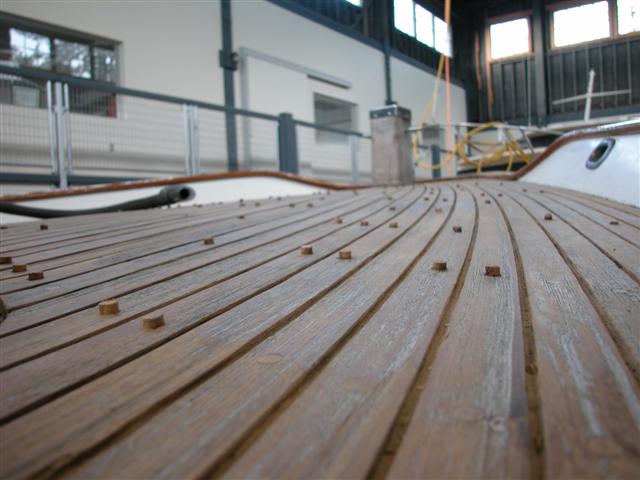
The new sealant for the decks is Teak Decking Systems SIS 440. Teak Decking Systems (TDS) advises sanding after application and therefore maintains that taping is not necessary. Since we did not want to sand that much of the old teak decks off, we decided to tape the decks with blue tape.

TDS recommended using a second roll of tape as a tool to press the tape down or, after emptying a roll, using the plastic core to press the tape down in the bottom of the groove. Worked beautifully.
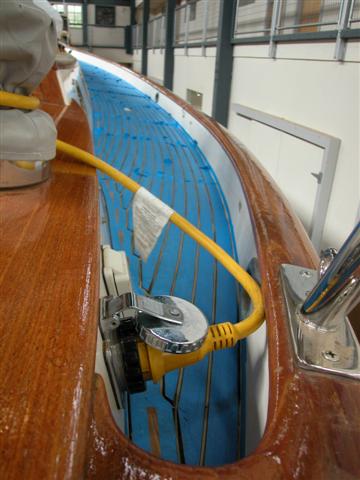
TDS recommended that the tape be pulled immediately since SIS 440 skins over very quickly and would disrupt the bond to the teak once it starts to skin. This required caulking the deck in sections so that the tape could be pulled very soon after application. We divided the deck into sections we could reach across. The fore deck was 4 sections, each side deck contained nine sections. We determined the order in which the sections would be caulked and taped the sections in the reverse order so the tape overlapped correctly for later removal.
Thanks to Andy and Daneen on SV Rose for advising us to make a 'tab' in each piece of tape. It was a lifesaver.
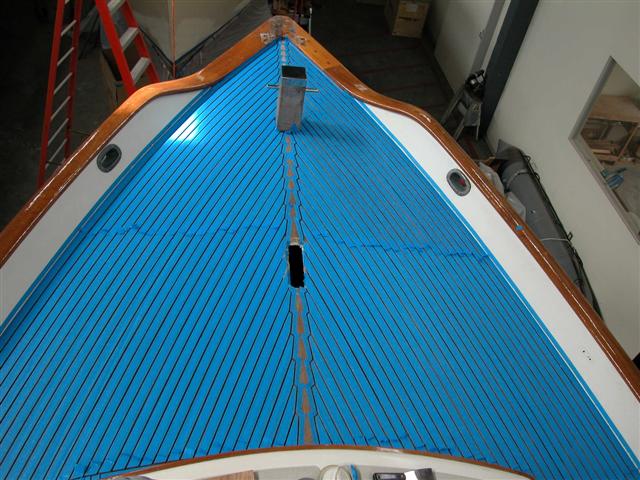

Teresa caulked with the gun, I spooned and pulled tape. We started with two sections on the bow then did the starboard side. On the side decks we alternated between fore and aft sections so we weren't in each other's way.
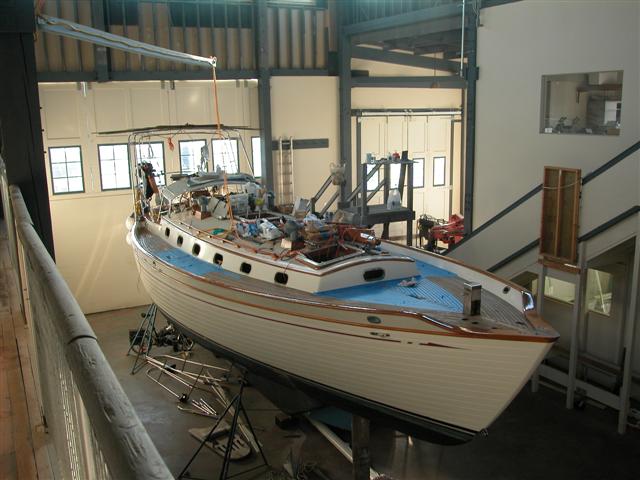
Two bow sections done, 6 starboard side sections complete.
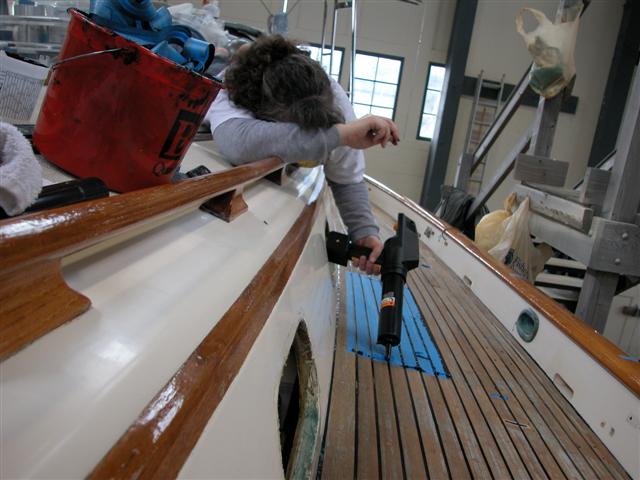
Steady hand with the caulking gun - The last section!!!!
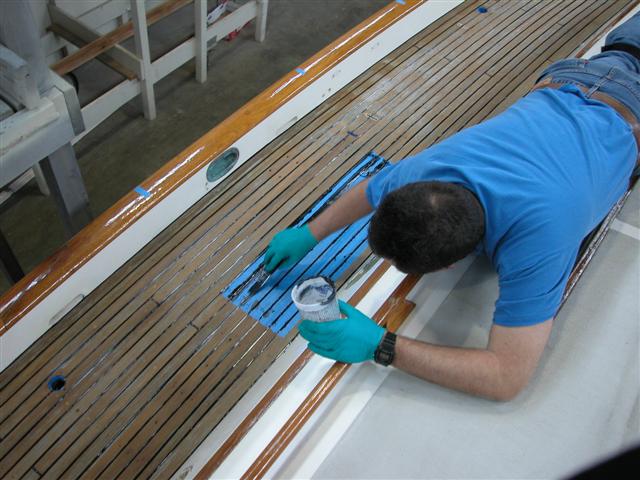
We had to do the last section on each side in smaller pieces to avoid getting black goo all over... The caulk cured in 24 hours, we spent 3 days total caulking, spooning, pulling tape, and then trying to get the black goo off us, our tools, and the boat. I had a few 'oops' spots while spooning and pulling tape but since SIS 440 is sandable all were easily fixed.
This was our first re-caulking job and we are very happy with the results.